Products
microDAC® - Measuring Systems
Universal measuring system - microDAC®

microDAC® measuring systems are modular high-performance systems for 2D analysis of motion, deformation and strain on the basis of digital image correlation (DIC). They are characterized by a high degree of flexibility of the optical design and enable comfortable, time-effective image analysis.

Applications

microDAC® measuring systems have a wide range of applications from micro to macro-scale. Due to their modular design, they can be adapted quickly and flexibly to the corresponding measuring task.

Fields of application are

  • Testing of materials, components and systems in microelectronics
  • Determination of material parameters
  • Swelling and shrinkage behaviour of moisture- and temperature-stressed materials and components
  • Fracture mechanical investigations (crack propagation, adhesion of material composites, ...)
  • Measurements of thermal and mechanical deformations on machines (e.g. textile machines, wire drawing machines, ...)
  • Displacement and velocity analyses

The microDAC® measuring system is offered as an optical system component for the multifunction tester “Condor Sigma” XYZTEC.

Technical specifications

microDAC® measuring systems are offered as a standard basic system, but can also be customized or extended.

Basic system microDAC®:
  • 1 stationary image processing station (IPS)
  • 1 industrial camera (GiGE interface)
  • 1 Lens 25mm, 1.4 (flexible from 25mm to ∞ applicable)
  • Tripod
  • VEDDAC cam - software for time-controlled image acquisition
  • VEDDAC 7 - image correlation software

The performance of microDAC® measuring systems is determined by the respective system-integrated camera. By default, you can choose between a high-resolution system and a system with higher image capturing rate:

Basic system Sensor resolution Frame rate
microDAC® high resolution 2464 x 2056 Pixel 23 images/s
microDAC® fast 1936 x 1216 Pixel 50 frames/s

The measuring resolution of the displacements is 0.01 pixels and depends on the size of the measuring range under inspection. For example, for a measuring range of 25mm in the basic microDAC® high resolution system, displacements down to 0.1 µm can be determined precisely.

Additional components for basic system microDAC®:

The microDAC® basic systems can also be individually configured or supplemented according to your task and measuring conditions ( measuring resolution, spacial conditions, ...).

  • Mobile image processing station (laptop)
  • 2.-4. cameras for stationary IPS
  • 2nd camera for mobile IPS
  • Camera with higher resolution (6 MPixel, 9 MPixel, 12 MPixel)
  • Telecentric lenses 0.28x - 10x
  • Telecentric zoom lens (4 zoom steps) 0.25x - 2x
  • Adapted tripod setups
  • External data and trigger interface
  • Windows interface to the shear and bending tester Condor Sigma from XYZTEC GmbH
XYZTEC - Condor Sigma with microDAC® measuring system
XYZTEC - Condor Sigma
with microDAC® measuring system
(Images: XYZTEC)
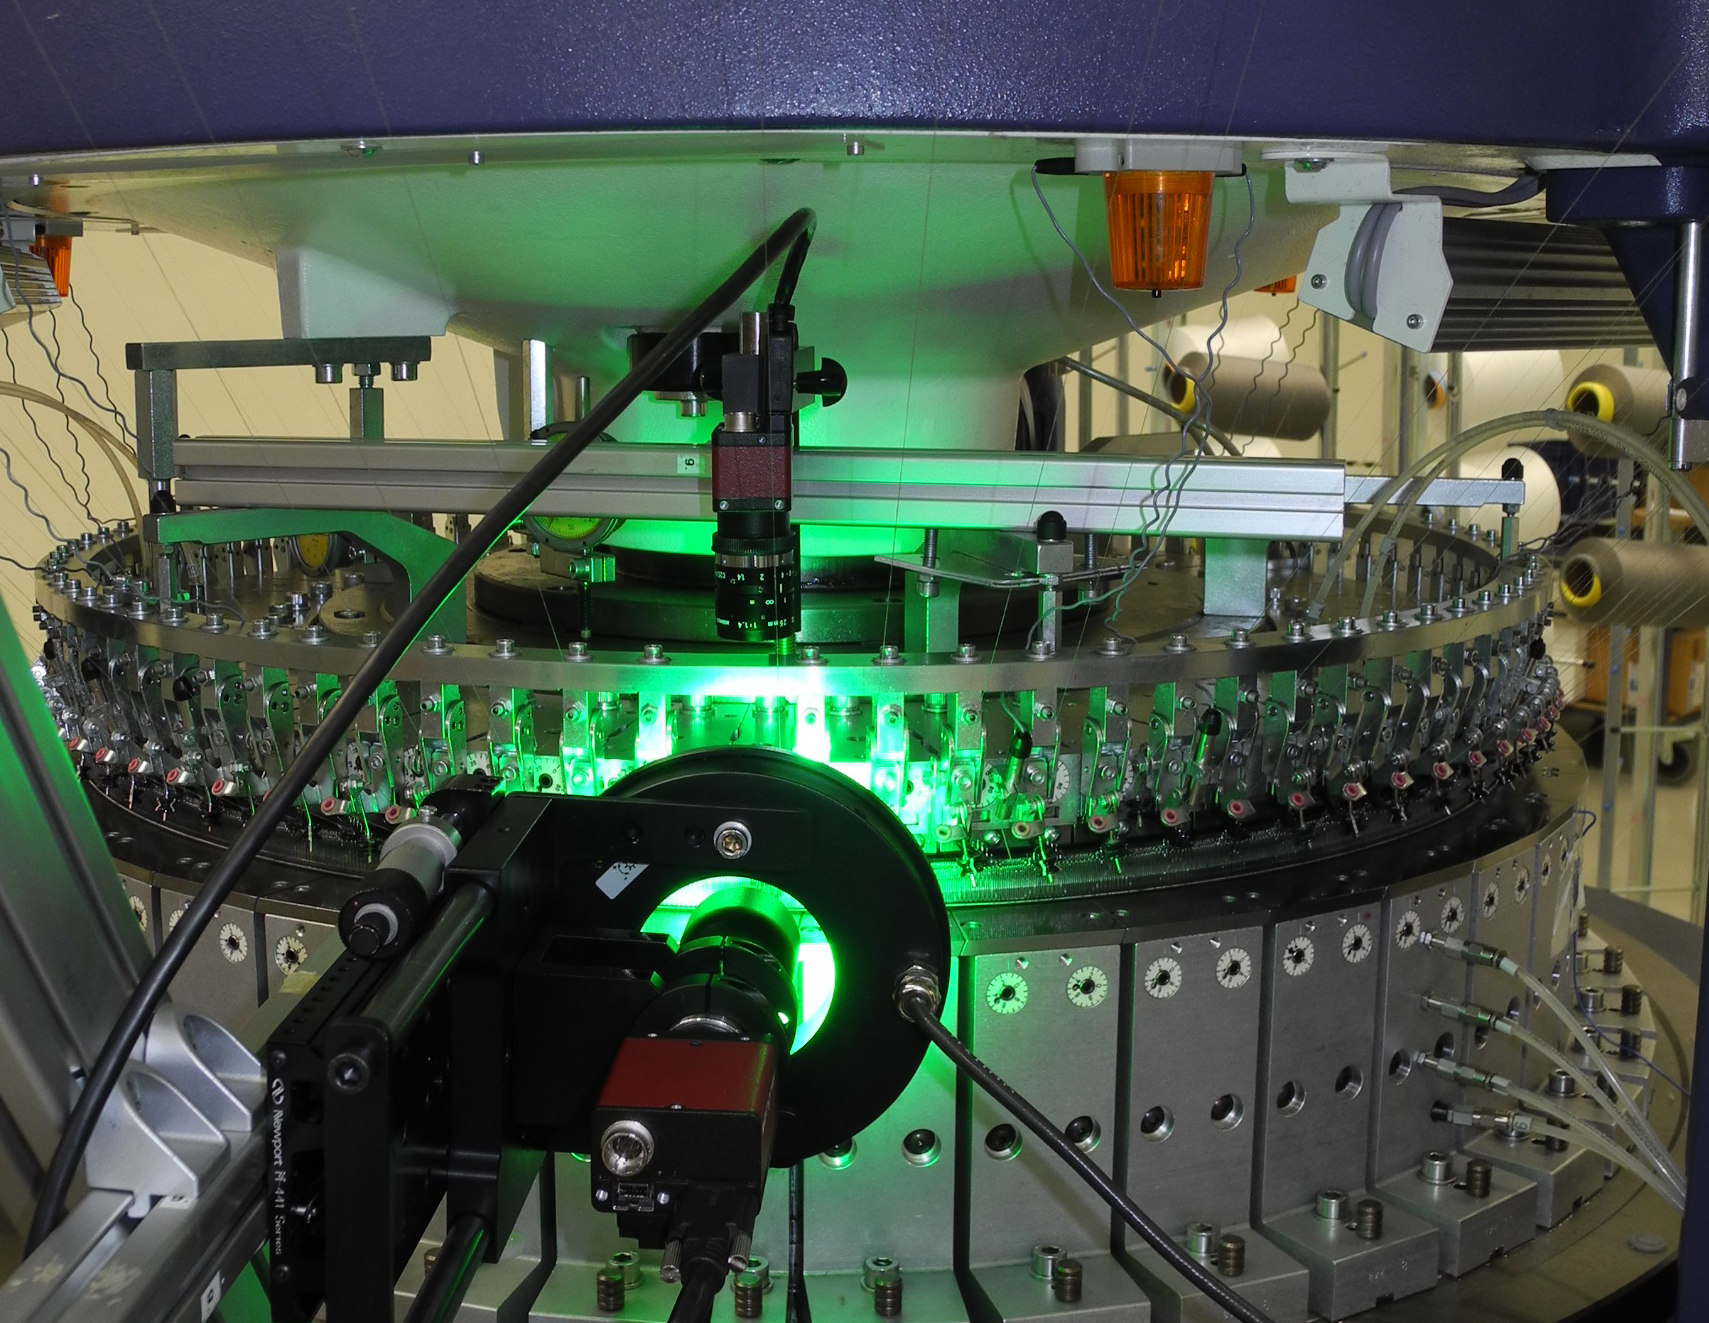
Knitting machine with microDAC® measuring system
Knitting machine
with microDAC® measuring system
(Images: Terrot GmbH)
Basic system microDAC®
Adhesive properties
in shear test with microDAC®
Deformation behavior
in bending test with microDAC®
 
© 2025 cwm-chemnitz.de | Legal notice | Privacy policy
 
We use cookies on our website to provide you with the most relevant experience by caching your preferences and visits. By clicking "Accept" you agree to the use of all cookies.