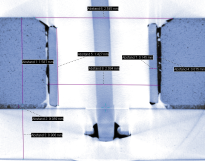
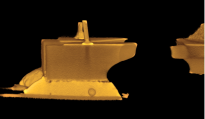
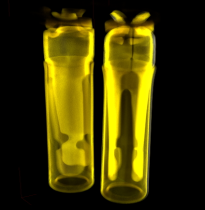
Particularly in microtechnical structures, a large number of functional and connecting elements made of a wide variety of materials are concentrated in a confined space, often encapsulated and thus inaccessible to visual inspection.
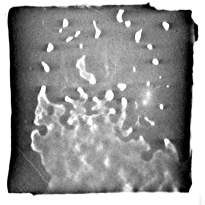
Radiographic imaging allows a view into the interior of components in order to find indications of possible causes of failures and malfunctions.
Test series in which components are stressed by external stress (e.g. thermal shock, corrosion test bench, power cycling, vibration, ...) can also be accompanied by X-ray CT and thus enable a direct comparison of different load levels on one and the same component. For a more detailed evaluation, we perform a deformation analysis on the CT data acquired in the process in order to detect, for example, areas of increased deformation in the object volume.
In addition to the all-embracing three-dimensional illustration of the object volume, the advantage is also the method of maintaining the building component, with which first of all, the existing conditions must be examined within the network. If necessary, further methods (e.g. microscopy on metallographic specimens) can be used to determine the properties of the X-ray CT detected abnormalities can be examined in detail. These and other complementary examinations can thus be targeted to selected areas in the the area surrounding the damage. For further evaluation of the consequences due to the load, we can perform a 3D deformation analysis on the acquired CT data to detect, for example, areas of increased deformation within the object volume.
The available instrument technology is optimized for the X-ray inspection of smaller objects with high resolution. We will be happy to advise you on the implementation of your inspection task.


